I never thought I would sew a swim suit or even touch stretch fabric because my mother had warned me that stretch fabrics were very difficult to sew. As I looked through patterns over the last few years, I would continually change my mind once I saw they called for knit fabric – tossing them back at the Fabricland salesperson like they were the devil incarnate.
Then I fell in love with Burda Style magazine and many of the monthly patterns were sewn in knit. So many are listed as easy to sew that I began to wonder if knit fabric was that difficult to sew after all. When I organized a Meetup group for local sewers I decided to plan the events around challenges for myself. I figured if I put it out there that I was going to sew things and put a date on it, I would be held accountable for actually doing it.
I decided the first sew along would be a swimsuit, no-one else signed up (I think swimwear is scary for a lot of people) but I figured I threw down the gauntlet so I had to sew it. Hello knitwear sewing.

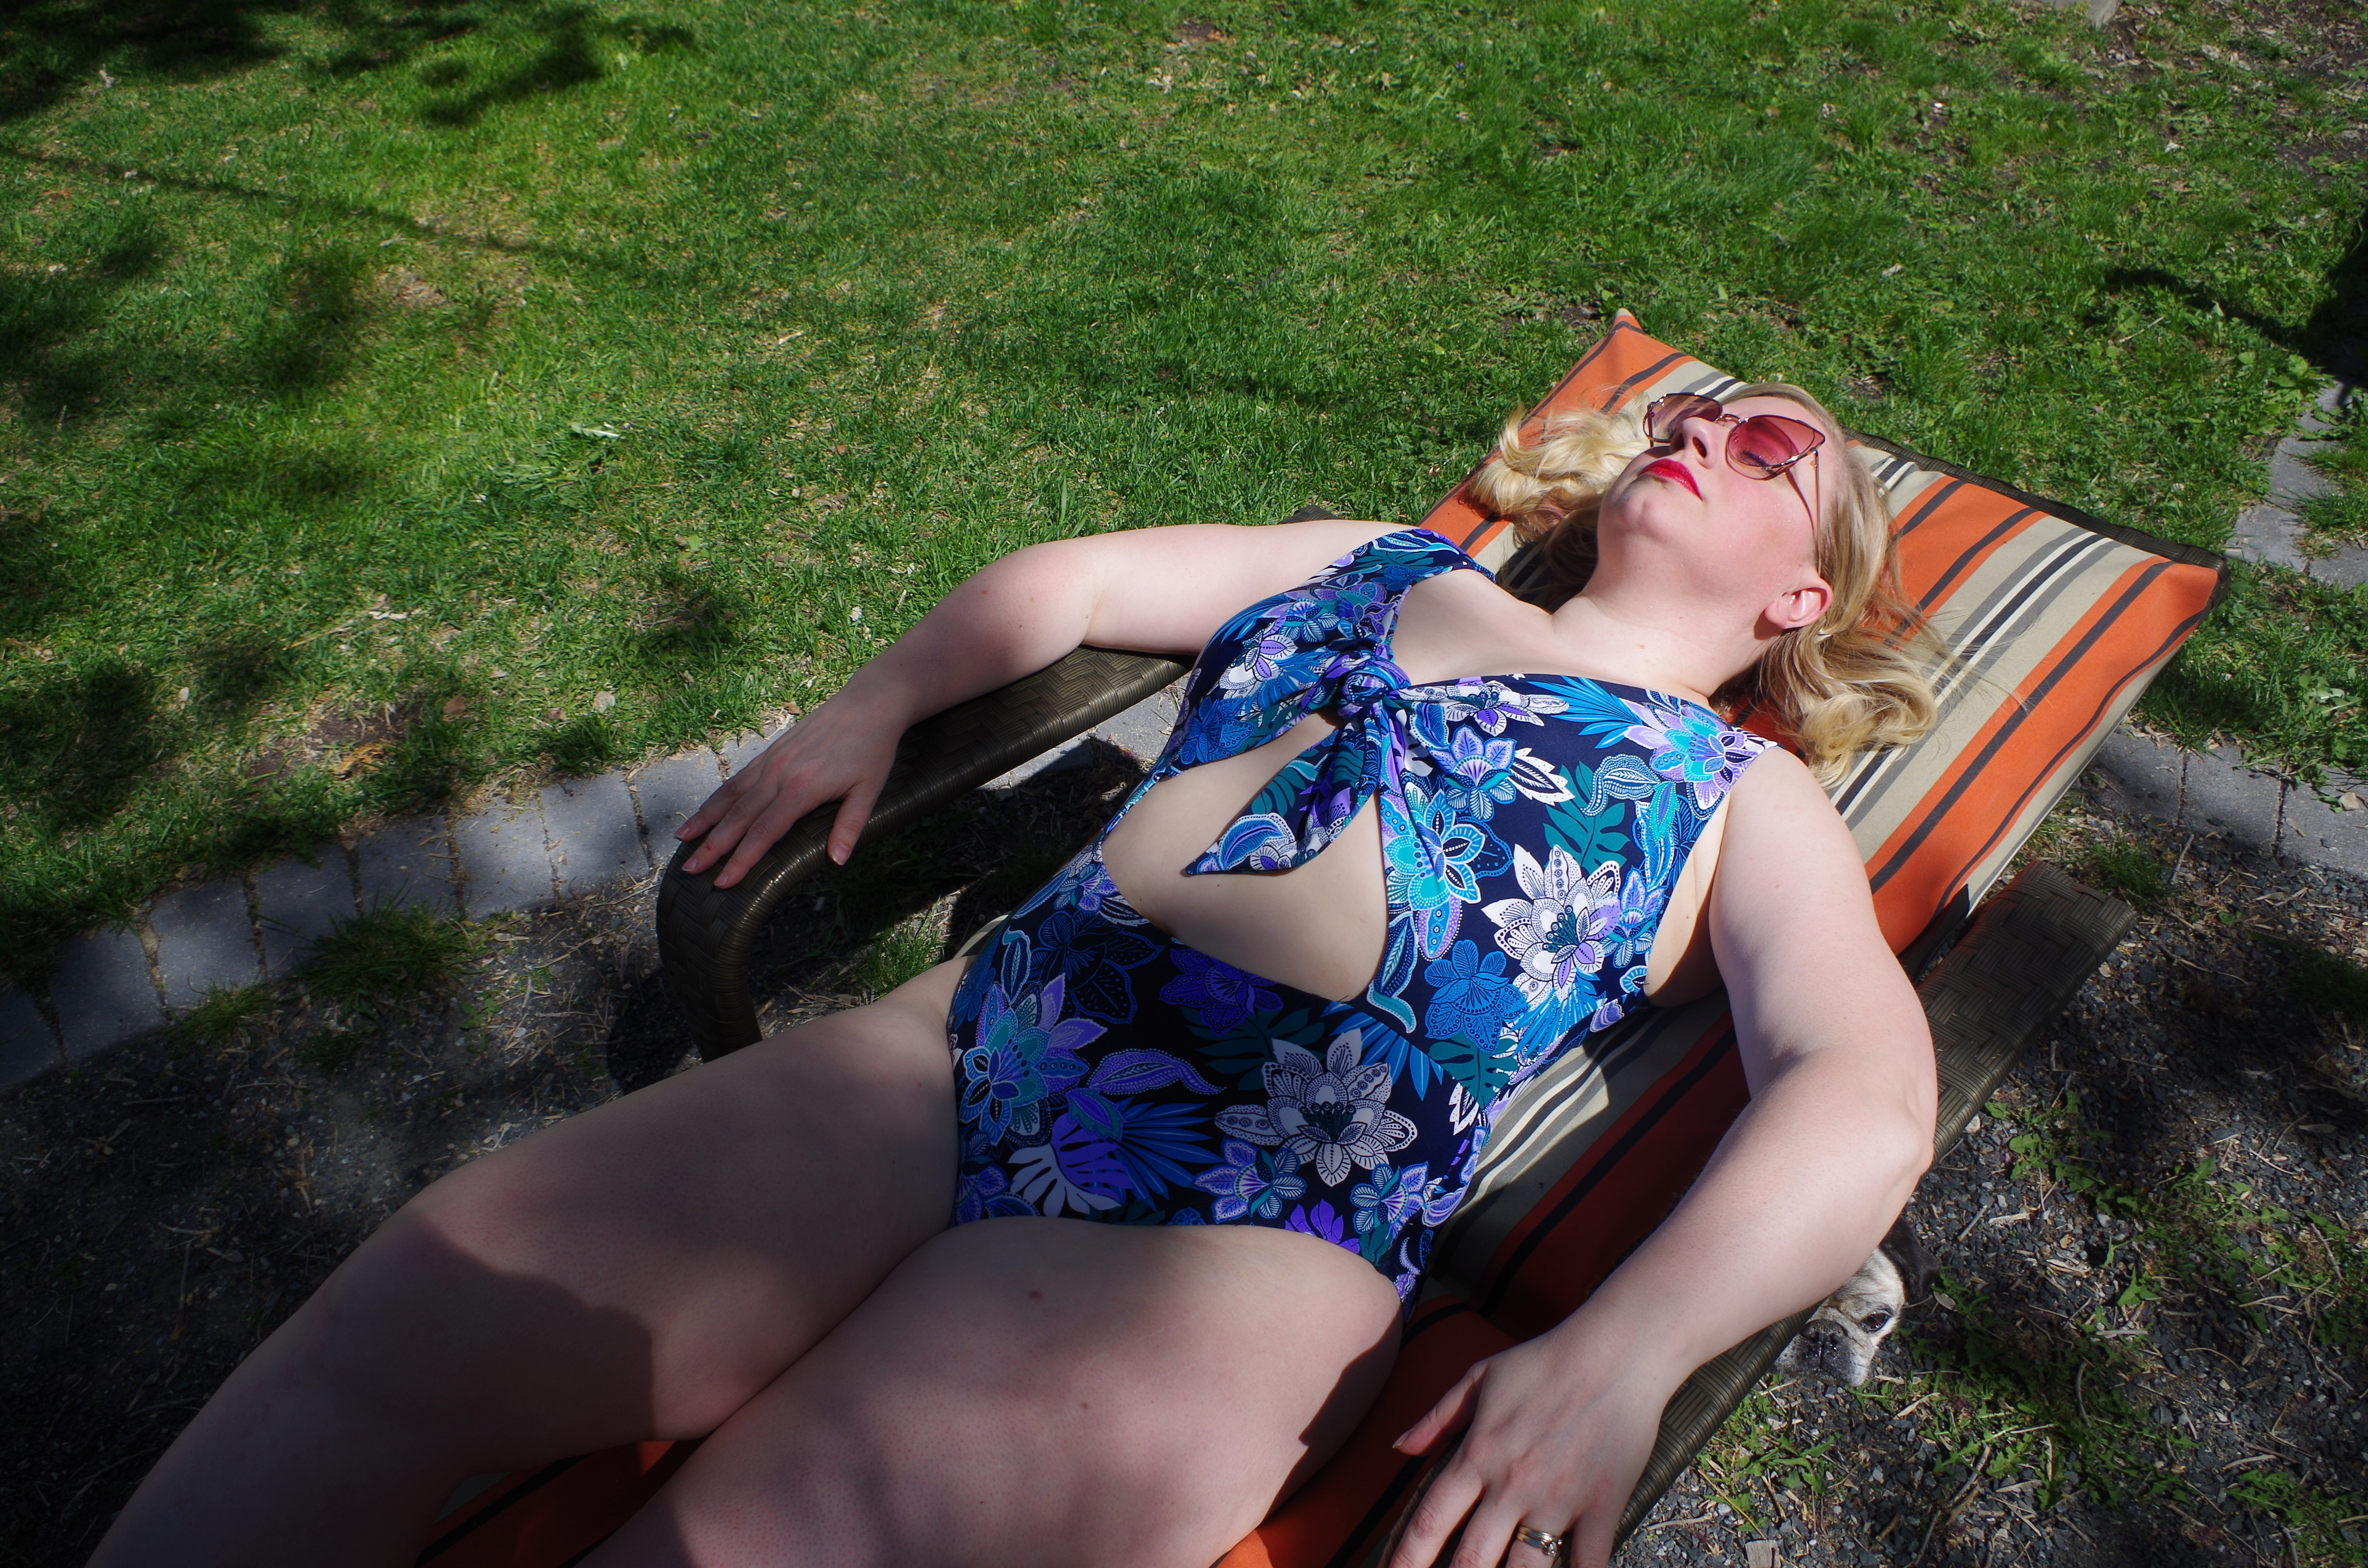
I picked this pattern off The Foldline https://thefoldline.com/sewing-patterns/pilatus-swimsuit/ because they had posted a list of the 10 best bathing suit patterns and this was on it. It was also similar to a Modcloth suit I had seen online that was kind of expensive: https://www.modcloth.com/shop/swimwear/modcloth-the-siena-one-piece-swimsuit-in-orange/163819.html .
For fabric, I went to Fabricland and although there wasn’t much choice, I did like this print. In total the supplies were about $45 plus the price of the pattern. It wasn’t cheap but the suit is very high quality and it’s still cheaper than the $150 I would have spent on the Modcloth suit after duty and taxes. I am going to call it a budget win!
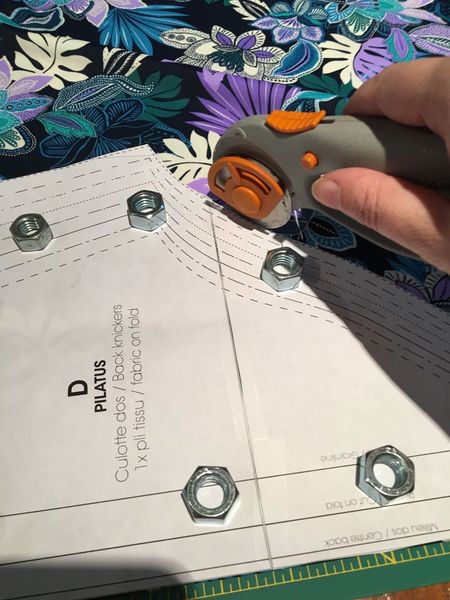
I used pattern weights and a rotary cutter to cut out the swimsuit and I feel like that made the cuts very precise. I had never used the rotary cutter before but now I am not sure I can go back to regular scissors. This method of pattern cutting is extremely fast. Less time on cutting means you are closer to getting something finished.
I added a nude lining to the bottom after reading someone else’s review and I am glad I did because it makes the suit more substantial (aka not see thru). I also added swimsuit cups (which I recycled from an old suit) because they added shaping and modesty to the bust. There are some mighty cold lakes in Manitoba, if you know what I mean.
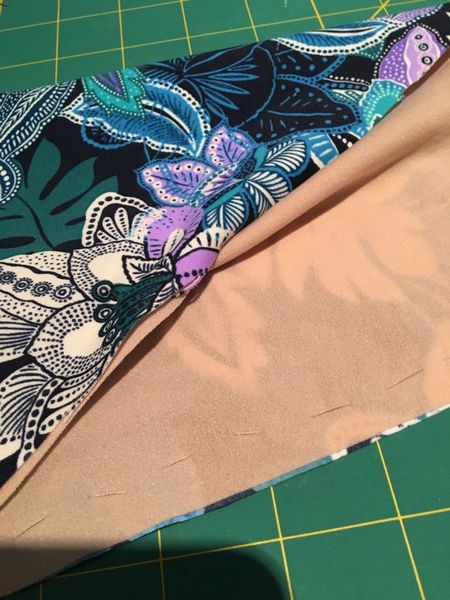
Another option I did with the pattern was hand basting the layers together. It took a few extra minutes but it held the layers in place for sewing. I used my serger to do the majority of seams and then a 3 point zig zag to do the elastic parts on my sewing machine. Thanks to Youtube sewing videos, I was able to do the elastic in the legs because the pattern didn’t explain how to evenly distribute it. For anyone doing their first suit, I divided the elastic into 4 and marked it and then did the same with the leg holes. I matched up the marks, pinned and then gently put it through the machine giving a slight pull to get it to match up. Seriously, what did we do before Youtube?

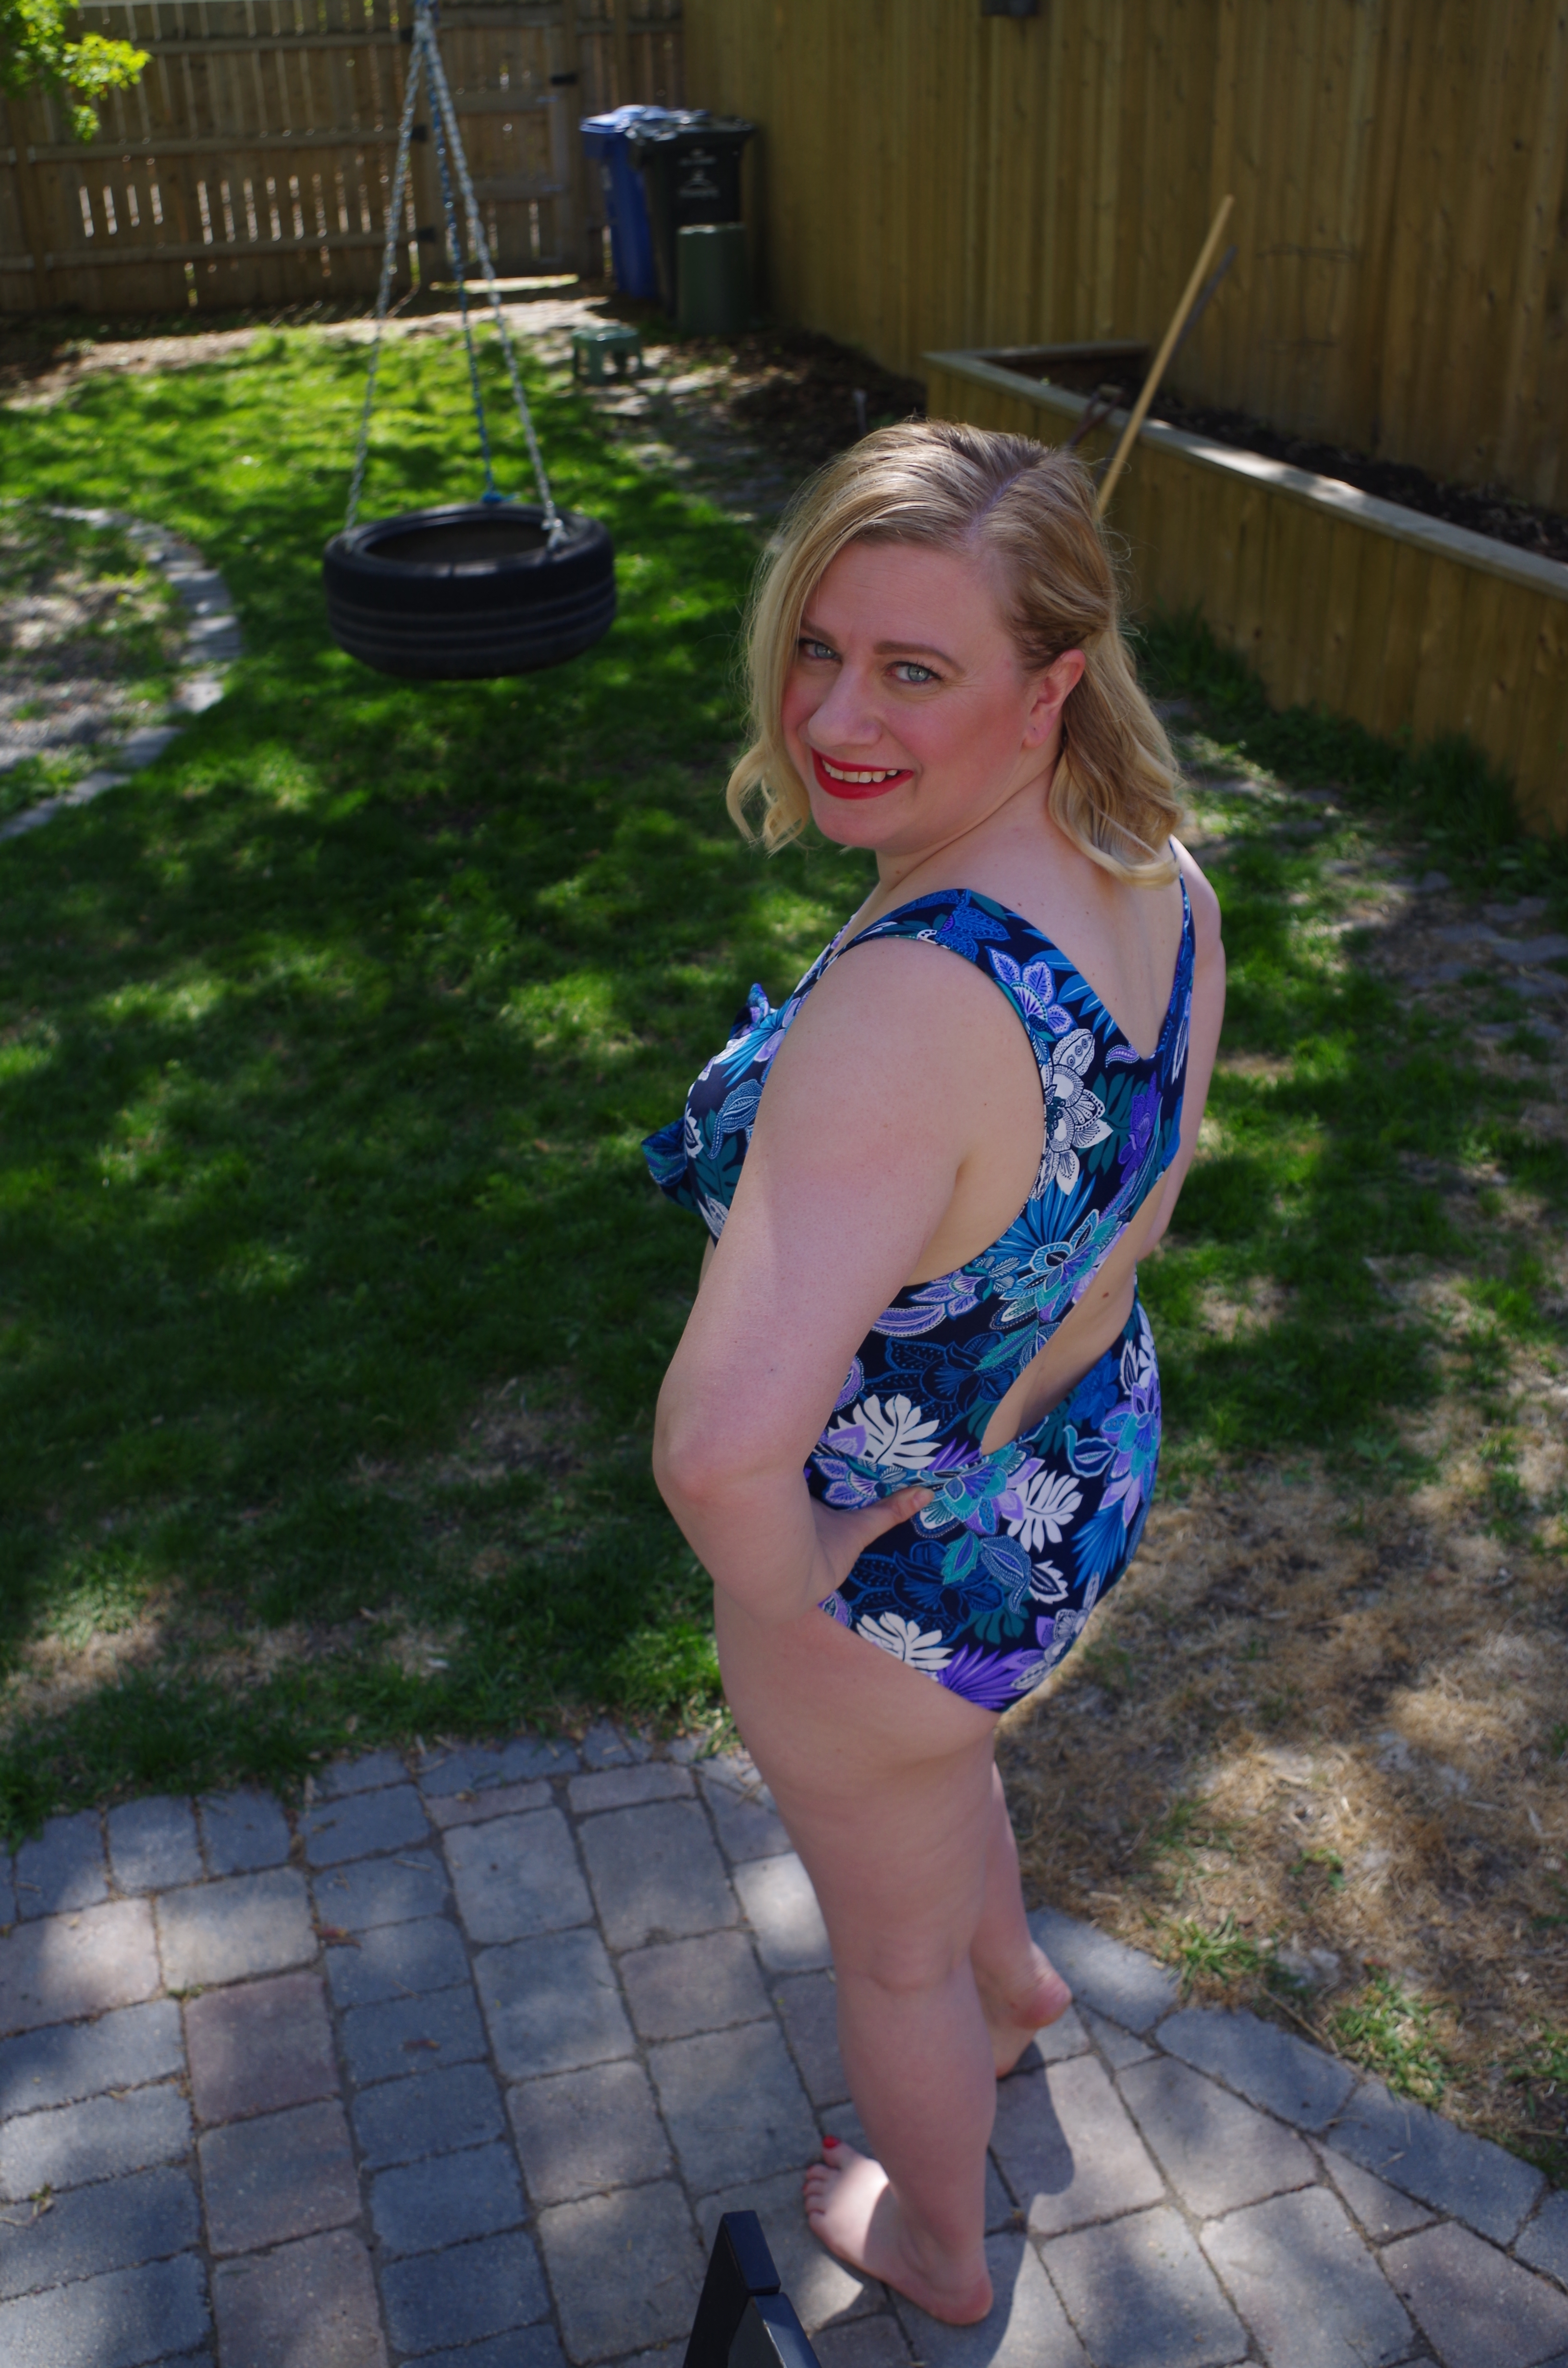
The fit of the suit is pretty good overall. I had to sew the largest size so I wasn’t sure if it was going to work out. The pattern does not have extra room for a rounder bum or bigger bust. I am not skinny but I know there are ladies who would look great in this who do need a bigger size of pattern. I like that the big 4 patterns go up to bigger sizes so you don’t have to do much to cut the pattern with extra room where you need it. This pattern company did not think to add more sizes so it lost points for me there. Also, the bottom looks great in the picture but my bum feels like I am showing more skin than usual. I think it’s designed like that and it is secure but ….I am insecure. You know what I mean? (Yikes I am in bathing suit!).
